Man Cave Buyers Guide is a participant in the Amazon Services LLC Associates Program. If you buy through links on this page we may earn a commission, at no extra cost to you. We do not accept manufacturer samples or payment for favorable coverage.
Nearly every projector guide is written for a room that does not exist: a sealed, windowless box with black walls. Your basement is not that room. It has an egress window the code inspector insisted on, a stairwell that leaks light from the kitchen, and a ceiling somewhere between seven and eight feet. That combination is what actually determines whether your picture looks like a theater or like a washed-out slideshow, and it has surprisingly little to do with the lumen number on the box.
Here is what actually matters when the room fights back.
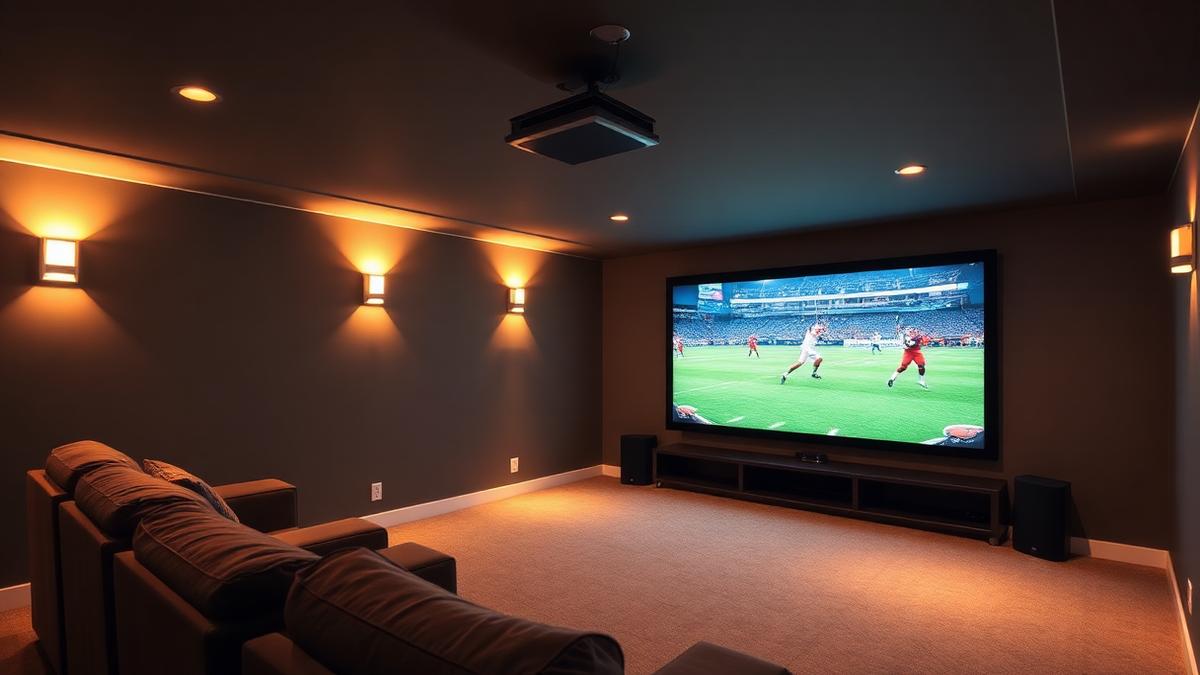
Ambient light destroys contrast, not brightness
This is the single most misunderstood thing about projectors. When stray light lands on your screen, it adds a uniform layer of brightness to every part of the image. White areas barely change, because they were already bright. Black areas get lifted dramatically, because they had nowhere to go but up.
The result is a picture that looks flat and grey rather than dim. Buying a brighter projector raises the whole image, including those already-compromised blacks, so the contrast ratio stays roughly where it was. You end up with a brighter bad picture.
This is why the order of operations matters: control the light, then choose the screen, then choose the projector. Most people do it exactly backwards and wonder why a well-reviewed unit looks disappointing in their space.
Light control is cheaper than any projector upgrade
Before spending a dollar on optics, spend it on the room. In rough order of return on investment:
- Blackout the egress window. A blackout roller shade in a side channel costs a fraction of a projector upgrade and eliminates your single largest light source.
- Kill the light bouncing off the ceiling. A white ceiling directly above a bright image acts as a giant reflector, bouncing light straight back onto the screen. A darker matte finish on the ceiling area nearest the screen makes a visible difference.
- Put the stairwell on a separate switch. Light spilling down an open staircase is the leak people forget about.
- Reconsider the wall color behind the seating. Bright walls flanking the screen wash out the edges of the image.
If you do nothing else, the blackout shade and the ceiling treatment will improve your picture more than moving up two price tiers in projectors.
The screen does more work than people expect
If you cannot fully darken the room, an ambient light rejecting (ALR) screen is the highest-leverage purchase in the entire setup. ALR material is engineered to reflect light arriving from the projector’s angle while absorbing light arriving from above and the sides, which is exactly where your room’s stray light comes from.
Two things to know before you buy:
- ALR screens are throw-specific. Material designed for an ultra-short-throw projector sitting in a cabinet below the screen will perform badly with a ceiling-mounted long-throw unit, and vice versa. Match the screen to your projector’s placement, not just to the room.
- Viewing angle narrows. Most ALR material has a tighter usable cone than a plain matte white screen. If your seating is spread wide across a long sectional, check the specified half-gain angle before committing.
For a genuinely dark room, plain matte white at 1.0 gain remains the better and cheaper choice. ALR solves a problem you may not have.
Browse ambient light rejecting screens on Amazon
Reading projector specs honestly
Lumens. For a basement with controlled but imperfect light and a 100 to 120 inch image, roughly 2,000 to 3,000 ANSI lumens is a sensible target. Be careful with the number on the box: many manufacturers quote “LED lumens” or an unqualified brightness figure that is not measured to the ANSI standard and can overstate real output substantially. If a spec sheet avoids the word ANSI, treat the number skeptically.
Contrast ratio. Native contrast is what you want. “Dynamic” contrast figures are produced by dimming the lamp during dark scenes, which inflates the number without improving what you see within any single frame.
Light source. Laser and LED units hold their brightness far longer than lamp-based projectors and eliminate the recurring cost and hassle of bulb replacement. Lamps still deliver good value up front, but budget for a replacement every few thousand hours.
Throw ratio. This is the specification most likely to derail your plan. Multiply the throw ratio by your desired image width to get the required distance. In a low basement, verify that number against your actual joist-to-seating geometry before you buy, not after.
Compare home theater projectors on Amazon
Geometry: the part that gets rebuilt
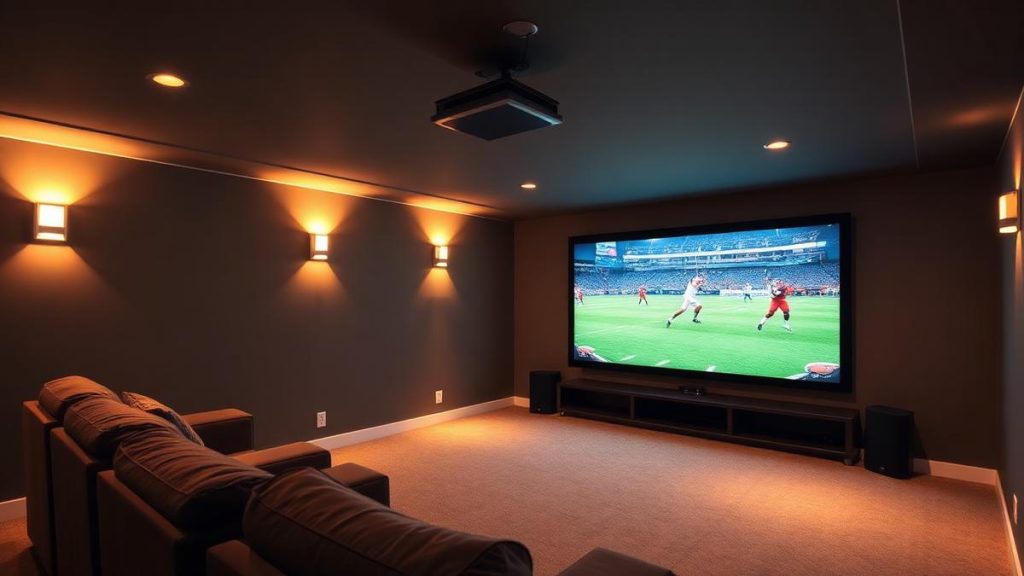
Low ceilings create a specific problem. A ceiling-mounted projector hanging below seven-foot joists becomes something people walk into, and mounting it flush often puts the lens too high, forcing heavy keystone correction that visibly degrades the image.
Two workable answers: recess the mount between joists if your framing allows, or move to an ultra-short-throw unit on a credenza and skip overhead mounting entirely. UST projectors cost more and demand a matched ALR screen, but in a genuinely low room they solve several problems at once.
For seating distance, a practical rule for a 4K image is roughly 1 to 1.5 times the screen width. Closer than that and you start resolving structure in the image; farther and you lose the sense of scale that made you want a projector.
A realistic budget
People consistently underweight everything that is not the projector. A workable allocation for a first basement setup puts roughly half the budget on the projector, a quarter on the screen, and the remaining quarter on mounting hardware, cabling, and light control. If that split feels wrong, it is usually because the screen and the room are being treated as afterthoughts, which is the mistake this entire article exists to prevent.
Do not forget the unglamorous items: a long HDMI run rated for the bandwidth you need, an appropriate mount, and enough cable management that the finished result does not look temporary.
The mistakes worth avoiding
- Buying the projector first and discovering the throw ratio does not fit the room.
- Pairing an ALR screen with the wrong throw type, which negates the material’s advantage.
- Trusting non-ANSI brightness claims.
- Correcting a bad mounting position with heavy keystone rather than fixing the geometry.
- Spending the entire budget on the projector and putting the image on a bare wall.
Where to go next
Get the room right, choose a screen that matches both your light situation and your throw type, then buy the projector that fits the geometry you have actually measured. Done in that order, a mid-priced setup in a partly lit basement will beat an expensive one installed backwards.
Next, work out where people will sit and what the room will be lit by once the screen is on. Both decisions interact with everything above.